


Bedroom photos do a lot of work on an Airbnb listing. Guests use them to judge whether they will sleep well, whether the room is as big as it sounds and whether the place is clean. Getting the Airbnb bedroom photos lighting right is the single biggest part of that, and you do not need expensive kit to do it.
This guide covers when to shoot, how to stage the room, which camera settings to use, how to brighten small bedrooms and how to edit without misleading guests.
Why Does Bedroom Photography Lighting Matter for Airbnb Success?
Lighting changes how big, clean and comfortable a room looks. Dark or poorly lit bedrooms look smaller than they are, while bright, evenly lit rooms feel more spacious and inviting. Harsh shadows or a strong yellow cast can make even a spotless room look tired.
Airbnb's own photo tips make the same point: clear the clutter, and open the blinds and turn on the lights to brighten the space. Your bedroom photos need to answer one question for guests: will I sleep well here?
Guests also use bedroom photos to judge value for money. A cramped, gloomy bedroom suggests budget accommodation even if your nightly rate is at the top of the market, while bright, well composed bedroom photos help support the price you charge.
What Time Should You Photograph Airbnb Bedrooms for Best Light?
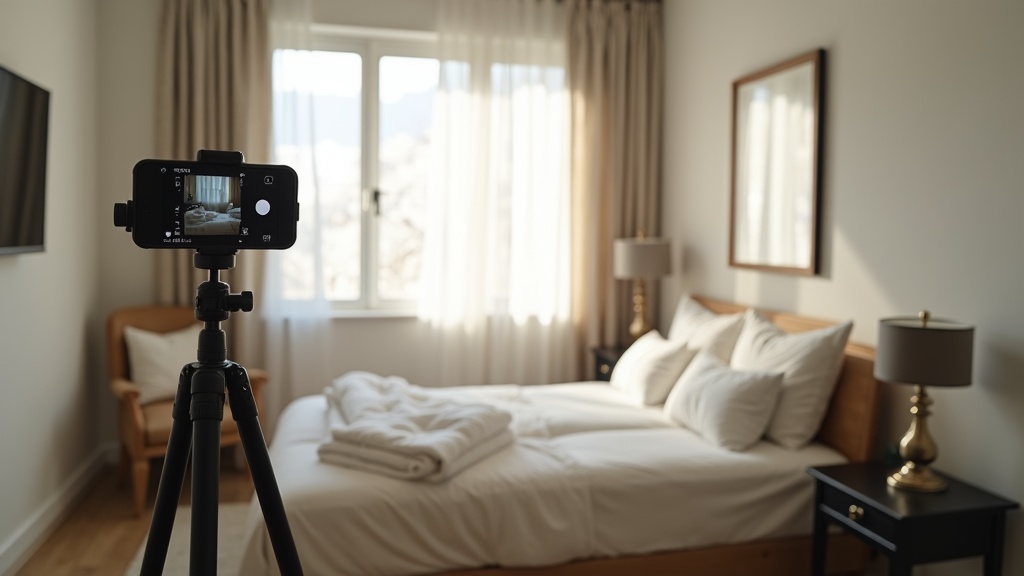
The best time depends on which way the window faces. As a rule of thumb, shoot when the room is bright but direct sun is not falling across the bed or walls.
East-facing bedrooms usually get their best light in the morning. South-facing rooms have good light for much of the day, though strong midday sun can throw hard patches of light across the bed. West-facing rooms are often easiest late morning or early afternoon, before the low sun comes straight in.
Very early or late sun is warm and orange, which can make white bedding look yellow. A bright overcast day gives soft, even light with no hard shadows, which suits bedrooms well, though you may need to warm the colours slightly when editing.
Watch how light moves through each bedroom over a day or two and note the times when the room is evenly lit. That becomes your window for future reshoots.
If your existing bedroom shots came out dark, Zugrow's AI photo enhancement can brighten them.
How Do You Stage Bedrooms for Professional-Quality Photos?
Good bedroom staging combines decluttering, sensible furniture placement and simple styling, so the light and the bed do the work.
Start with the angle. Where you can, shoot from a corner or from near the foot of the bed with the window in view, so the frame shows both the sleeping area and the light source.
Bedding deserves special attention in bedroom photography airbnb shots. White or light neutral bedding reflects light around the room. Iron or steam the linen, because creases show up even in good light. Folding back the duvet a little shows the sheets and adds interest.
Remove personal items, piles of decorative cushions and anything that adds clutter. Keep bedside tables simple: a lamp, perhaps a book or a small plant. The goal is to show the space guests will use, not your belongings.
Check what else is in the frame. Wardrobes and storage should look tidy. A slightly open wardrobe door can show hanging space, as long as what is inside is neat.
Which Camera Settings Work Best for Bedroom Photography?
A modern smartphone handles bedroom photography well. The settings that matter most are HDR, exposure and orientation.
Turn on HDR (high dynamic range) so the phone keeps detail in both the bright window and the darker corners. Tap the screen on a mid-tone area, such as the bedding, rather than the brightest or darkest part of the scene, then nudge the exposure slider if needed. Use the wide lens carefully: it shows more of the room, but too wide can stretch the edges and make the room look bigger than it is.
Shoot in landscape. Airbnb shows photos in search results in landscape format, and recommends photos of at least 1024 x 683 pixels; bigger is better. Portrait mode suits close detail shots, not whole rooms.
From our own portfolio: the listing photos across our Manchester short lets were taken on a smartphone. That works for us; plenty of hosts get great results with a professional photographer, so choose whatever fits your property and budget.
If you use a dedicated camera, shoot in RAW for more editing flexibility, put the camera on a tripod so you can keep the ISO low, and use an aperture around f/8 so the whole room is sharp. Taking several exposures of the same shot and blending them is a common way to handle bright windows.
Avoid direct flash, which creates harsh shadows. If you need extra light, bounce it off a wall or ceiling so it looks like natural light.
How Can You Maximise Natural Light in Small Bedrooms?
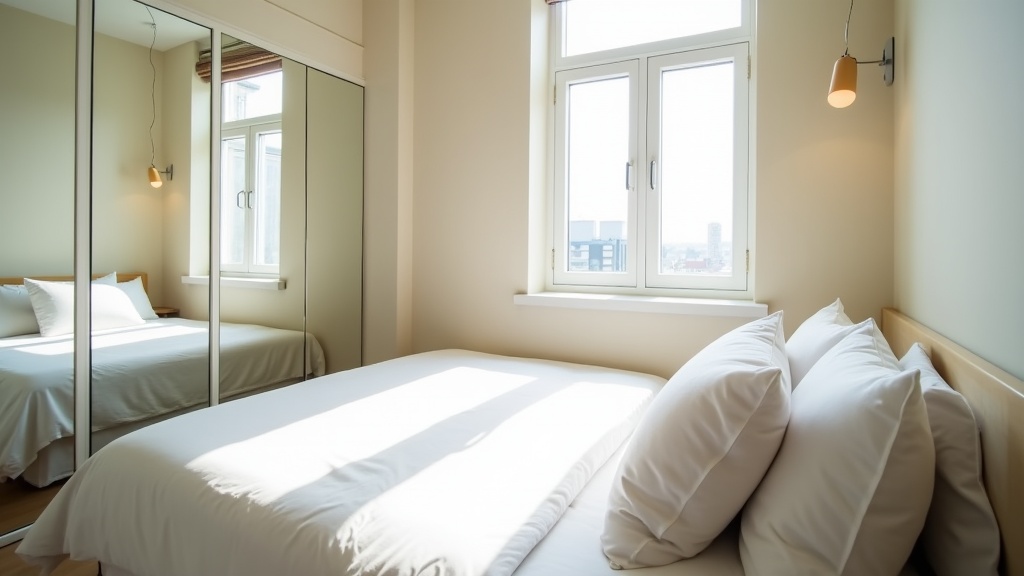
Natural light staging bedroom techniques for compact spaces come down to reflection, light colours and clearing anything that blocks the light.
A mirror placed opposite or beside a window bounces daylight back into the room. Even a small mirror can lift a dark corner when it is angled well.
Light walls and bedding act as reflectors. If repainting is not an option, white or cream bedding, throws and curtains still help. Dark colours absorb light and make small rooms feel cramped in photos.
Open curtains and blinds fully for the shoot. If you need privacy, sheer panels soften harsh light while keeping the room bright, and a clear window that shows a view makes the room feel larger.
Remove any furniture that is not needed for the shot. A clear line from door to window adds depth and lets the light travel across the room.
Try different heights. Shooting from around chest height usually looks most natural; a slightly higher position can show more of the floor and make a small room read better.
What Common Bedroom Photography Mistakes Should You Avoid?
The most frequent problems are mixed colour, clutter, poor angles and over-editing.
Mixed colour comes from window light and indoor bulbs together. Daylight is cool and many bulbs are warm, so a room lit by both can look patchy. Airbnb suggests turning the lights on as well as opening the blinds, and that works well when your bulbs are all the same colour temperature. Use matching warm white bulbs, or correct the white balance when you edit.
Angle changes how big a room looks. Shooting straight in from the doorway often gives a cramped, tunnel-like picture. A corner position usually shows both depth and width. Avoid pointing the camera straight at a bright window, which turns the room into a silhouette.
Cluttered bedside tables, personal items and unmade beds put guests off. If the room looks bare, add one or two simple touches: a plant, a good lamp or a single picture.
Heavy editing creates expectations the room cannot meet. Filters, extreme brightness or boosted colours may look striking, but guests who feel the photos oversold the room will say so in their reviews.
For feedback on your current bedroom photos, Zugrow's free listing score looks at your photos as well as your title, description and amenities.
How Do Different Bedroom Types Require Different Photography Approaches?
Main bedrooms, single rooms, shared spaces and studios each need a slightly different approach.
Main bedrooms have room for several angles. Take a wide shot of the whole room, a medium shot of the bed area and a detail shot of anything special, such as good bedding, a reading chair or a view.
Single bedrooms need careful composition. Keep styling minimal, use a corner angle and show any useful features, such as built-in storage or a desk.
Studio flats need thought because the bed shares space with the living and kitchen areas. Frame the sleeping area clearly and make sure the sofa or kitchenette behind it looks tidy.
Private rooms in a shared home need photos that make the guest's space clear. Show the room itself and anything that is theirs alone, such as a lock, storage or an en suite.
Which Editing Techniques Enhance Bedroom Photos Without Over-Processing?
Small adjustments to brightness, shadows and colour improve bedroom photos while keeping them true to what guests will find.
Start with exposure. Brighten the image slightly if it is dark, but stop before it looks unnatural. The aim is to show the room on a good day, not a fantasy version.
Lift the shadows to reveal detail in dark corners and pull down the highlights so windows are not blown out. This gives a balanced picture of the whole room.
Correct the colour temperature so all your bedroom photos match. Cool down images that look too orange and warm up any that look blue, so the bedding and decor look as they really are.
Straighten and crop. Verticals should be vertical and the bed level. Crop out distractions, but not so tightly that the room looks smaller than it is.
Avoid heavy saturation, dramatic contrast and artistic filters. Airbnb guests rate accuracy in their reviews, and photos that do not match the room hurt that score.
For more on photos across your whole listing, our photo optimisation guide covers every room type, and quality versus quantity helps you decide which bedroom shots to keep.
How Many Bedroom Photos Should Your Listing Include?
As a guide, use two to four photos per bedroom: one wide shot, one detail shot and extra angles for larger or unusual rooms.
The wide shot should show the whole bedroom from the best angle, with the bed, window and layout. It is the photo guests will rely on to judge space.
Detail shots show the things that make the room comfortable: bedding, a reading corner, storage or a view.
Photograph every bedroom. Do not let one bedroom photo stand in for all of them; groups and families often choose a listing based on the individual rooms.
Avoid repeating near-identical angles. Each photo should tell guests something new. Three strong bedroom photos are better than eight weak ones.
Look at similar listings nearby to see how many bedroom photos they show, and make sure yours are at least as clear.
For the rest of the listing, our complete photography guide gives room-by-room advice, and our guides to kitchen photography and bathroom photography cover the other rooms guests look at closely.
Conclusion
Good bedroom photos come from good light, a tidy room and light-touch editing. Shoot when the room is evenly lit, stage it simply, use HDR and landscape format, and keep the edits honest so guests find the room they booked.
Want to know how your current photos compare? Get your free listing score at Zugrow.
Sources: Airbnb Help Centre, how to take great photos of your listing. Checked October 2026.